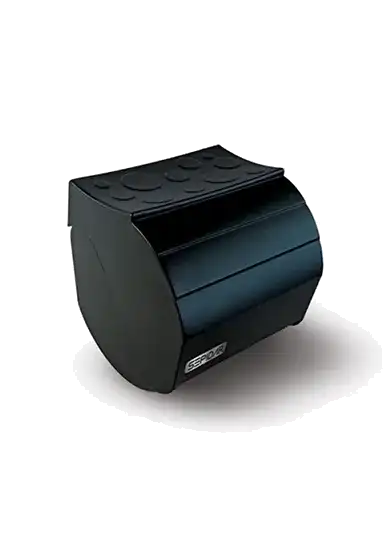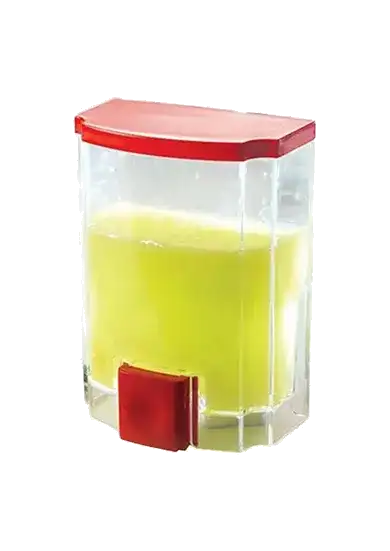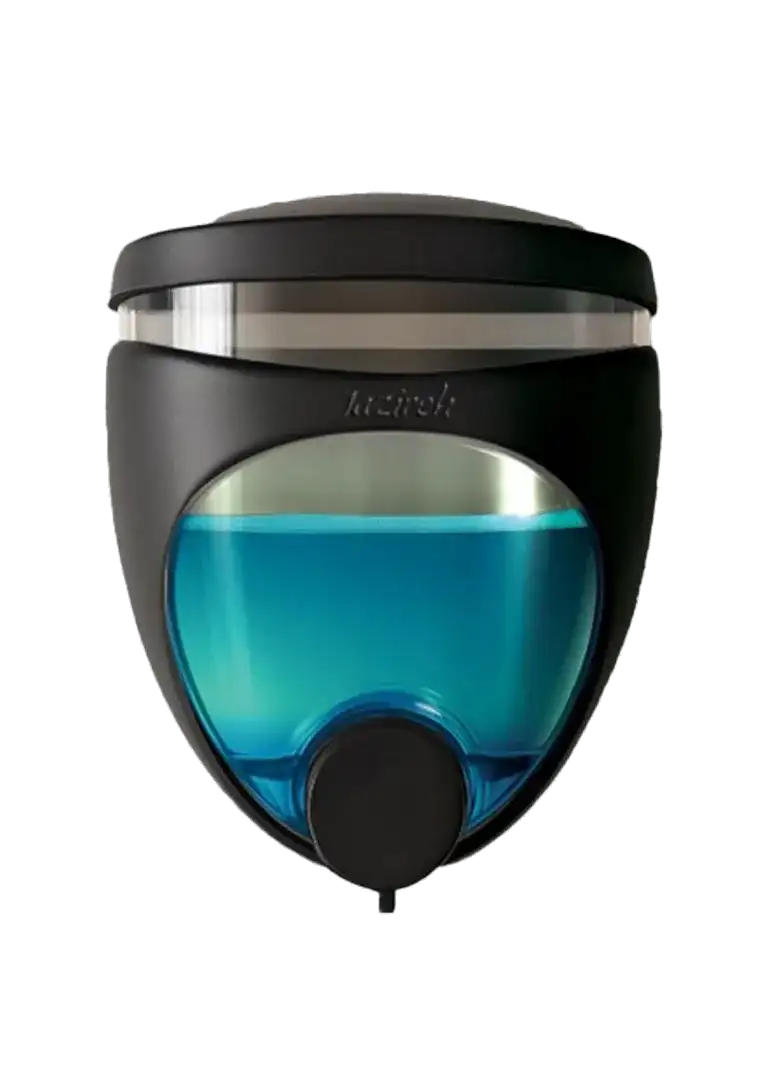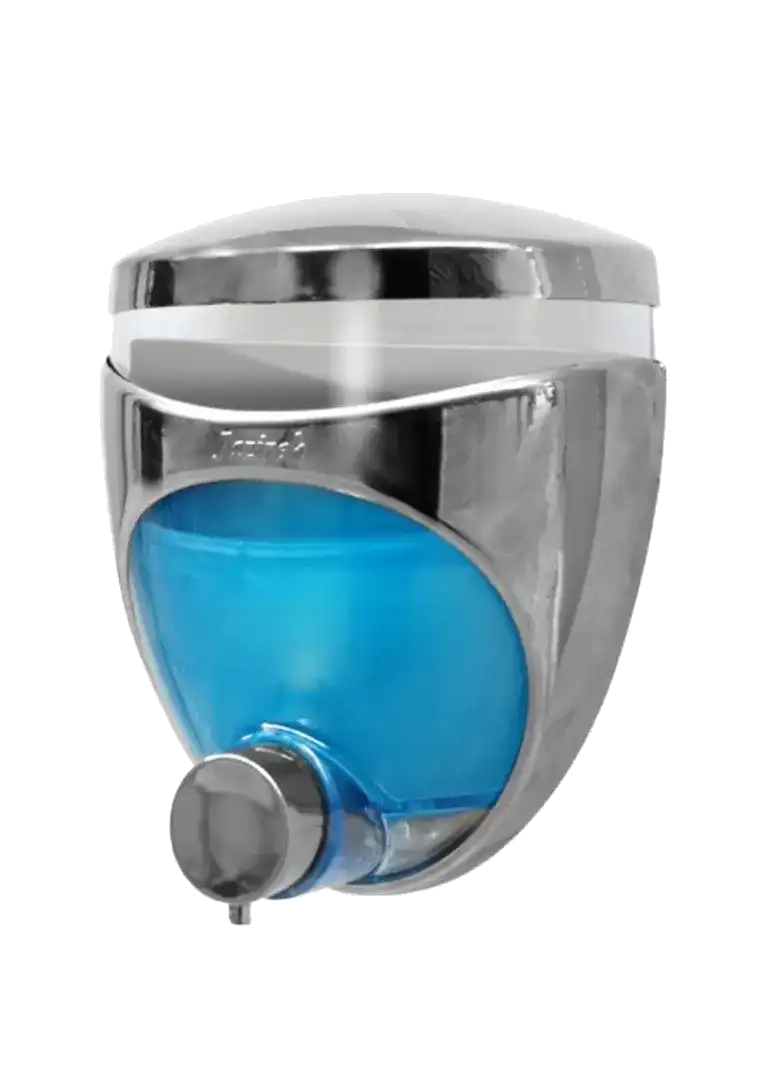
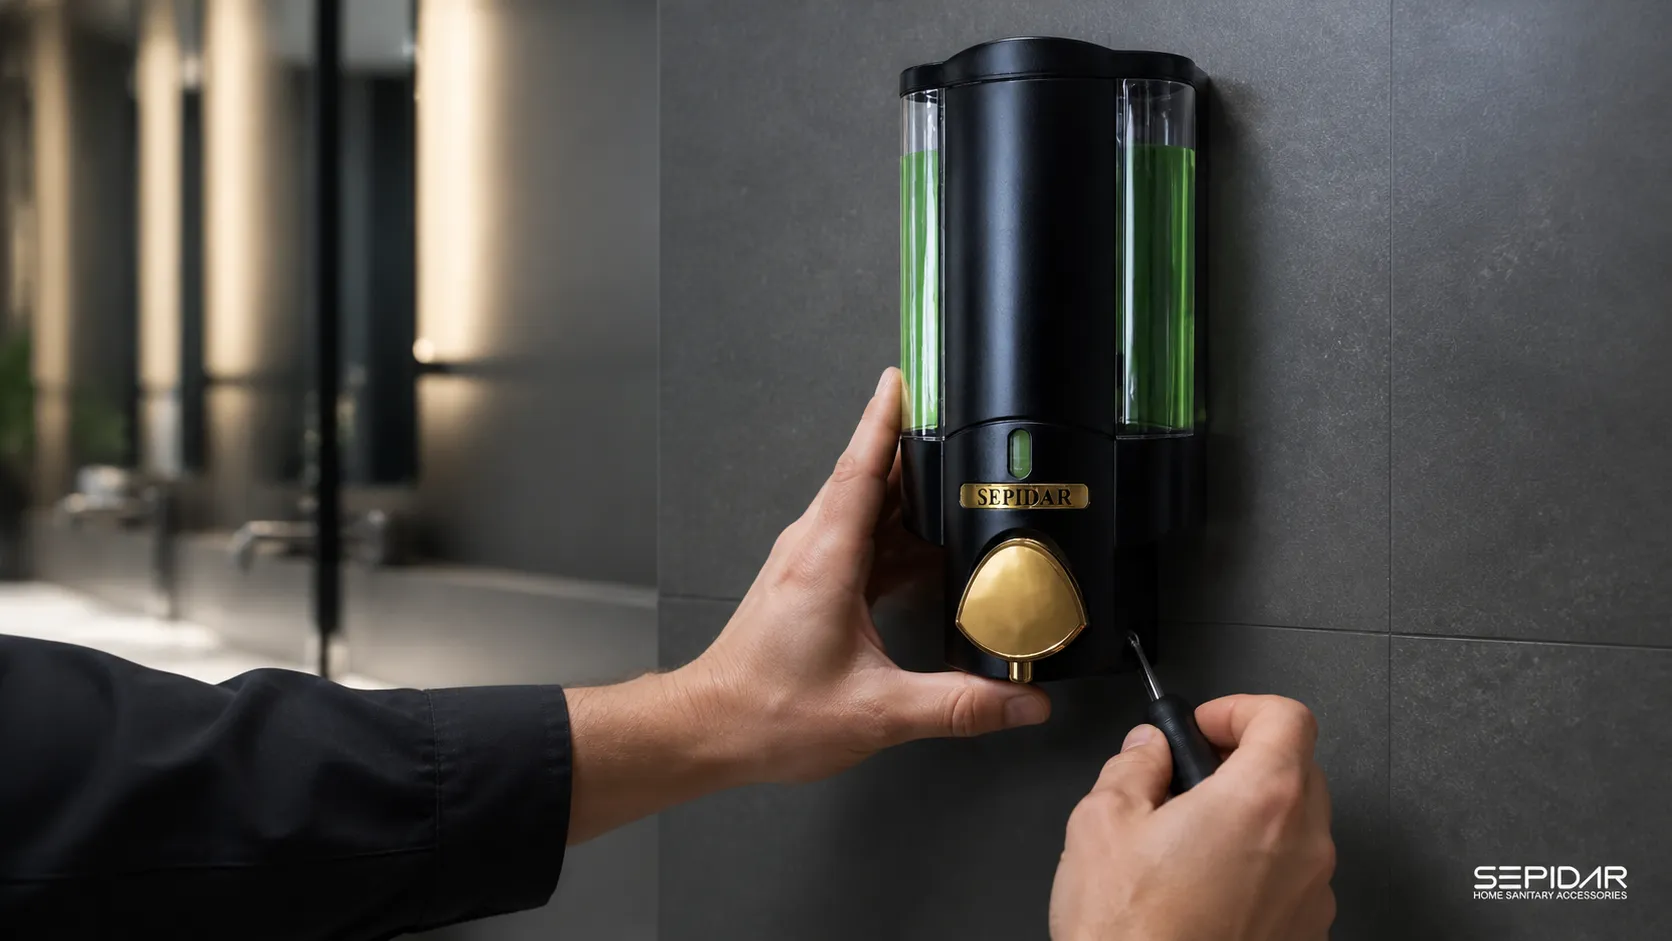
Correctly installing a wall-mounted soap dispenser helps keep handwashing convenient, supports a tidy washbasin area and makes refilling and routine servicing easier. Choosing the wrong position can make the unit awkward to use; drilling without checking the wall can damage tiles, pipes or electrical wiring. This guide covers general planning and installation principles. Always follow the instructions supplied with the selected model and the requirements that apply to your site.
Quick installation checklist
- Choose a reachable position beside the washbasin, with room to open and refill the dispenser.
- Check the wall material and the likely route of pipes and electrical cables before drilling.
- Use a fixing method appropriate for the wall and the dispenser’s mounting system.
- After installation, check stability, pump operation, refill access and any signs of leakage.
Tools and preparation
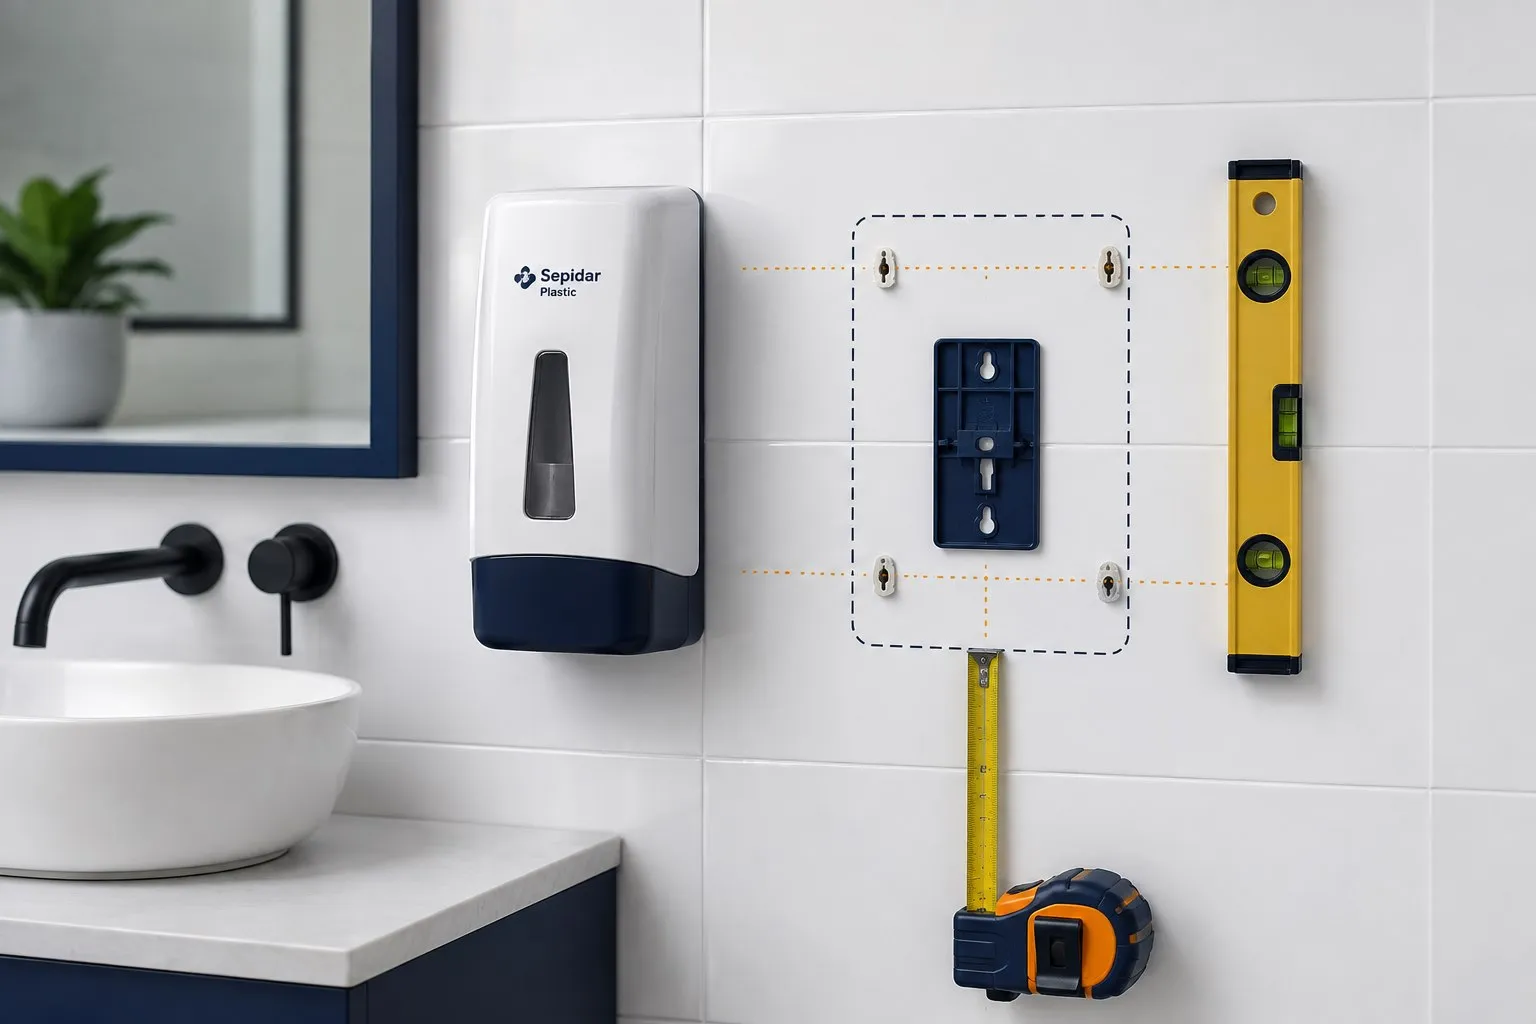
The exact tools depend on the wall and the mounting design. A tape measure, erasable pencil, spirit level, drill, suitable drill bit, compatible screws and wall plugs, screwdriver and basic protective equipment are commonly useful. A service detector can help identify hidden services, but it should not replace building plans or a qualified professional’s assessment. Read the product instructions first and check that the proposed fixings are suitable for both the wall and the model.
Choose a practical mounting position
Position the dispenser within comfortable reach of the basin and aim its outlet so soap falls into the bowl. Keep it clear of taps, mirrors, towel rails, doors and the normal movement of users. Before marking holes, open the cover or reservoir and leave enough clearance for refilling and cleaning. Avoid a location that receives constant direct splashes unless the selected model is specified for those conditions.
For hotels, offices and other shared washrooms, review several dispenser positions together so they feel consistent and remain easy to service. Where children or people with limited mobility will use the space, coordinate the final position with the project’s accessibility requirements and the responsible designer or site supervisor.
What is the right installation height?
There is no single height that suits every washroom. The basin, dispenser model, pump outlet, users, accessibility needs and project design all matter. Hold the product in its proposed position before drilling and check reach and the distance between the outlet and the basin. In a public or commercial project, confirm the final position with the designer or site supervisor and applicable local requirements rather than copying a general-purpose measurement.
Check the wall before drilling
Review available building plans and check for water pipes, drainage and electrical cables behind the proposed mounting point. On tiled walls, choose a drilling position that avoids unsuitable edges or joints, and use a method and bit designed for the surface. Excessive pressure or an unsuitable tool may crack the tile or damage the substrate. If you cannot establish what is behind the wall or whether it can support the fixing, stop and ask a qualified installer.
General steps for mounting the base and dispenser
Mounting details differ between products, so use the instructions for your exact model. For a typical base-mounted design, the general sequence is:
- Hold the mounting base or template at the selected position.
- Use a level to check alignment, then mark the fixing points.
- Recheck for hidden services before drilling with a suitable tool and bit.
- Fit anchors appropriate to the wall and secure the base without twisting it.
- Attach the dispenser body using the model’s specified slot, latch or fixing system.
- Fill the reservoir as directed and operate the pump several times to test it.
Do not overtighten screws. Too much force can stress a plastic base or damage a tiled surface. The goal is a stable, correctly aligned fixing—not maximum force. Gently check the unit after mounting. If it moves, review the anchor and wall rather than trying to correct the problem by tightening blindly.
Final checks and ongoing care
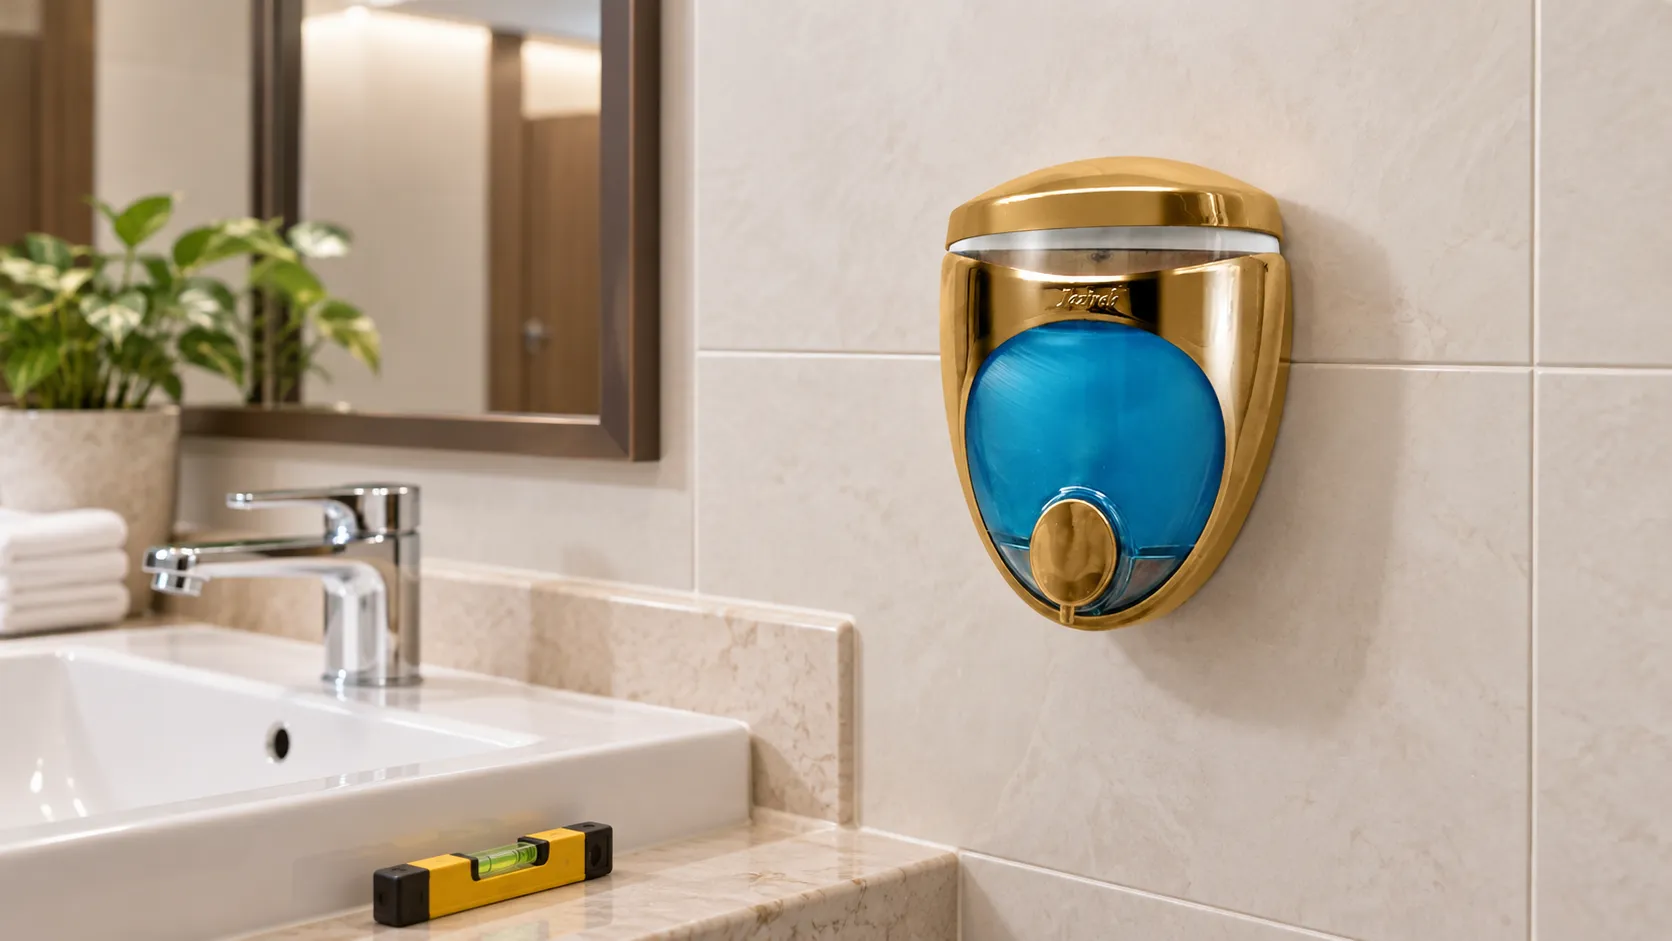
Confirm that the body is secure, the reservoir sits correctly and the cover can be opened for refilling. Add a small amount of soap compatible with the product instructions, operate the pump and check for drips or leakage. The outlet should direct soap into the basin; if it lands on the rim or floor, reassess the position or angle.
Clean the unit using the method recommended by its manufacturer. Avoid abrasive tools or chemicals that have not been approved for the material. In busy facilities, include the dispenser in routine washroom checks: confirm that it is filled, the pump works and the mounting remains secure. Before replacing a part, make sure it is compatible with the exact model.
Common installation mistakes
- Marking holes before checking refill and cover clearance.
- Drilling without considering the wall material or hidden services.
- Choosing screws and anchors that do not suit the mounting surface.
- Using a generic height without checking real access at the basin.
- Overtightening the base or overlooking movement after installation.
- Skipping the pump, leakage and outlet-direction test.
Frequently asked questions
Is there one standard height for every wall-mounted soap dispenser?
No. The position should work with the basin, intended users, dispenser model and project requirements. Check accessibility and reach at the actual installation point before drilling.
What should I consider when installing on tile?
Use a method and bit suitable for the surface and check for pipes and cables behind the wall. If the substrate or hidden services are uncertain, have a qualified installer assess the location.
How can I tell whether installation is complete?
The base should remain stable, the reservoir and cover should be accessible, the pump should dispense into the basin and there should be no visible leakage.
Choose a dispenser for your washroom
A dependable installation starts with a model that suits the location and its daily use. Explore Sepidar Plastic wall-mounted soap dispensers and read our guide to choosing a wall-mounted or countertop dispenser. For product or project questions, contact the Sepidar Plastic team and share your installation requirements.